Installer menu
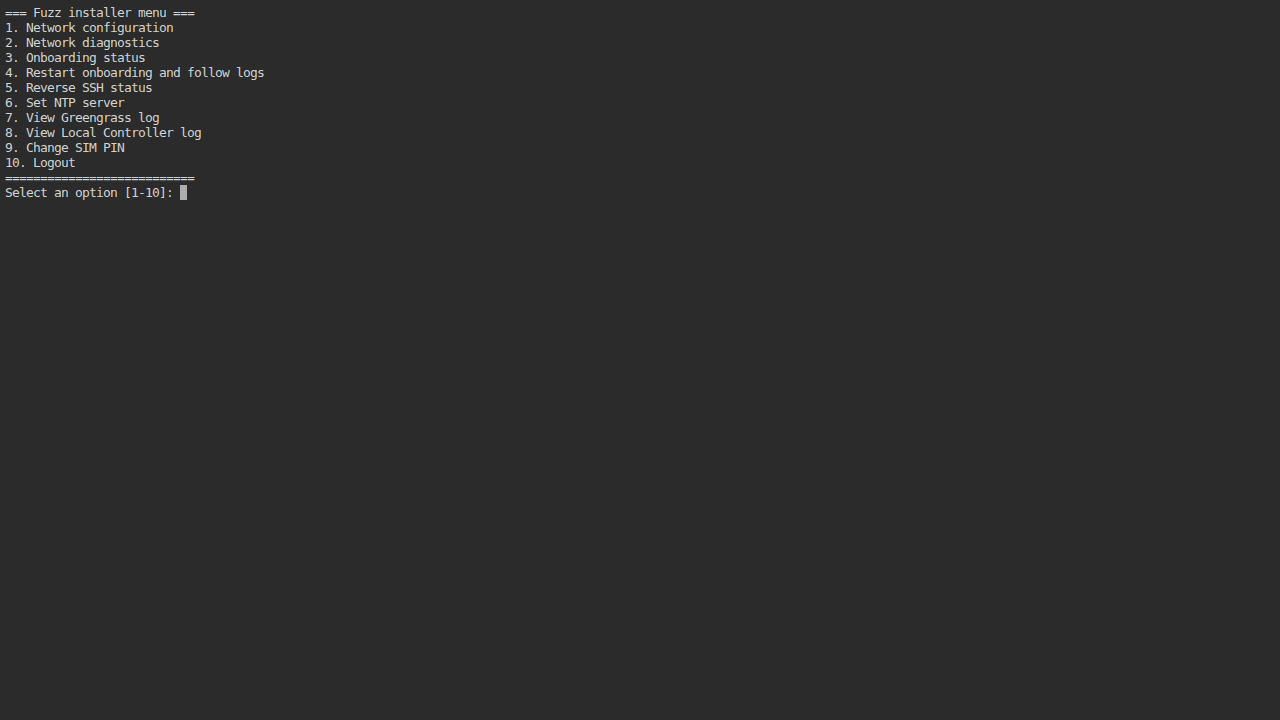
After the first start of the Local Controller, the installer menu can be used to configure the network and check the services required for onboarding. It is a text menu running in a terminal.
Accessing the menu
The menu can be accessed in four ways:
- from the Raspberry Pi local console, for example through a serial console or VNC depending on the installation;
- over SSH with the
installeraccount; - from a browser on the same network, at
http://<LOCAL_CONTROLLER_IP>:1080; - from the Fuzz Console, in the site's administration area, through Installer SSH console.
SSH remote access uses port 22. Web access uses port 1080 and displays the same menu in a web terminal. The Fuzz Console connection goes through Fuzz Secure Link and avoids opening an additional inbound connection on the site's network.
Authentication
Use the following credentials for local, SSH, and web access:
- Username:
installer - Password: the Raspberry Pi Ethernet MAC address, in lowercase, including the colons
Example: 2c:cf:67:11:e0:65.
For a direct SSH connection:
ssh installer@<LOCAL_CONTROLLER_IP>
The installer account is restricted to this menu and does not provide a general Linux shell. The web terminal is not encrypted with TLS: it must only be made available on a trusted network and must not be forwarded to the Internet.
Menu entries
1. Network configuration
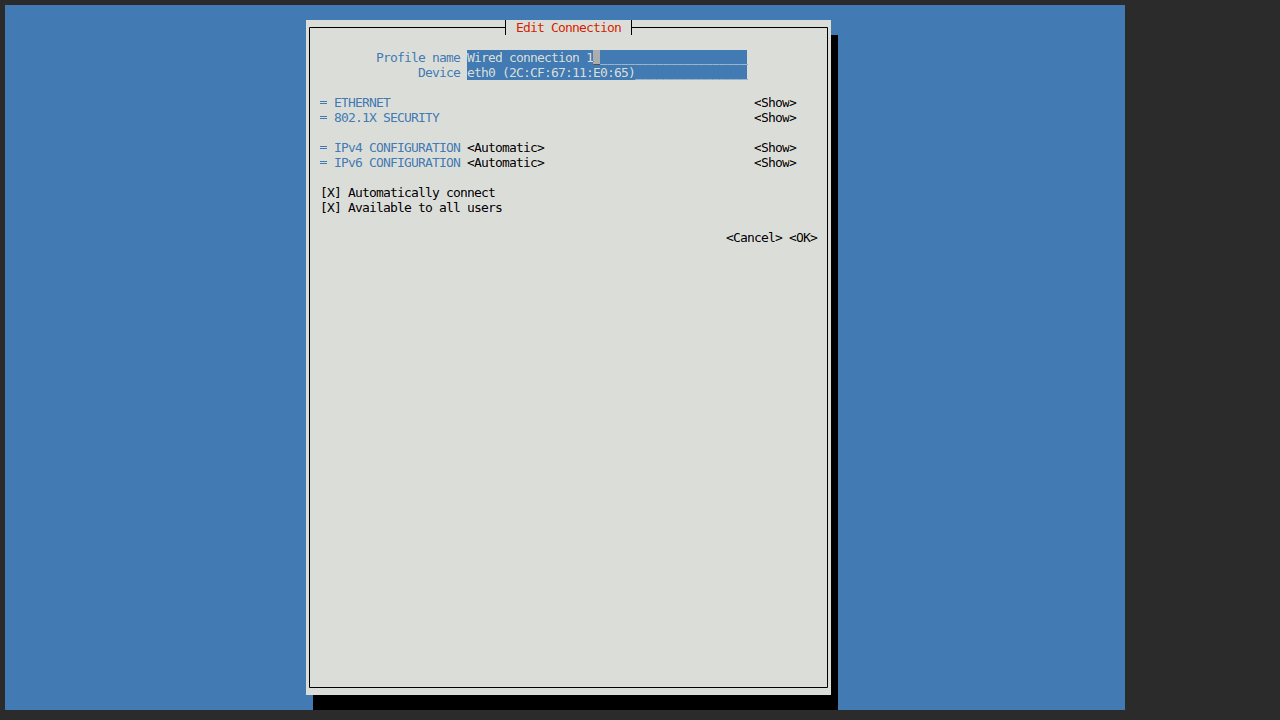
This entry opens the nmtui editor from NetworkManager for the active network profile. Use it to switch from DHCP to a static address, change the gateway, or update the DNS servers.
Changing the IP address
- Select Network configuration from the main menu.
- In
nmtui, select the active Ethernet profile. The profile is usually associated witheth0. - On the IPv4 CONFIGURATION line, select
<Automatic>to keep DHCP or choose the manual mode. - For a static address, choose Manual, then display the IPv4 fields and enter:
- Addresses, with the address and prefix, for example
192.168.1.50/24; - Gateway, for example
192.168.1.1; - DNS servers, for example
192.168.1.1or the DNS servers provided by the network administrator.
- Addresses, with the address and prefix, for example
- Make sure Automatically connect remains enabled, then select OK to save the profile.
- The menu displays the address to use for reconnection. Press Enter to apply the profile.
Applying the profile temporarily disconnects the Ethernet interface. An SSH session, Fuzz Console session, or browser open on the old address will therefore be interrupted. Reconnect to the controller using the new IP address. If cancel is entered at the confirmation prompt, the profile is saved but is not activated immediately; it will be applied during the next network activation or after a reboot.
DHCP or static address?
| Mode | How it works | Preferred when |
|---|---|---|
| DHCP / Automatic | The router or DHCP server automatically assigns the address, gateway, and usually the DNS servers. The address may change after a lease renewal or reboot. | The network manages DHCP leases or a DHCP reservation is configured for the controller. |
| Manual / Static | The address, prefix, gateway, and DNS servers are entered in the controller profile. The address normally remains constant. | The controller must be reachable at a known address or when the network does not provide DHCP. |
A static address must be approved by the network administrator and must not conflict with another device. The prefix must match the local network: /24, for example, corresponds to the 255.255.255.0 netmask. With DHCP, use Network diagnostics > View current configuration or the router console to find the assigned address.
2. Network diagnostics
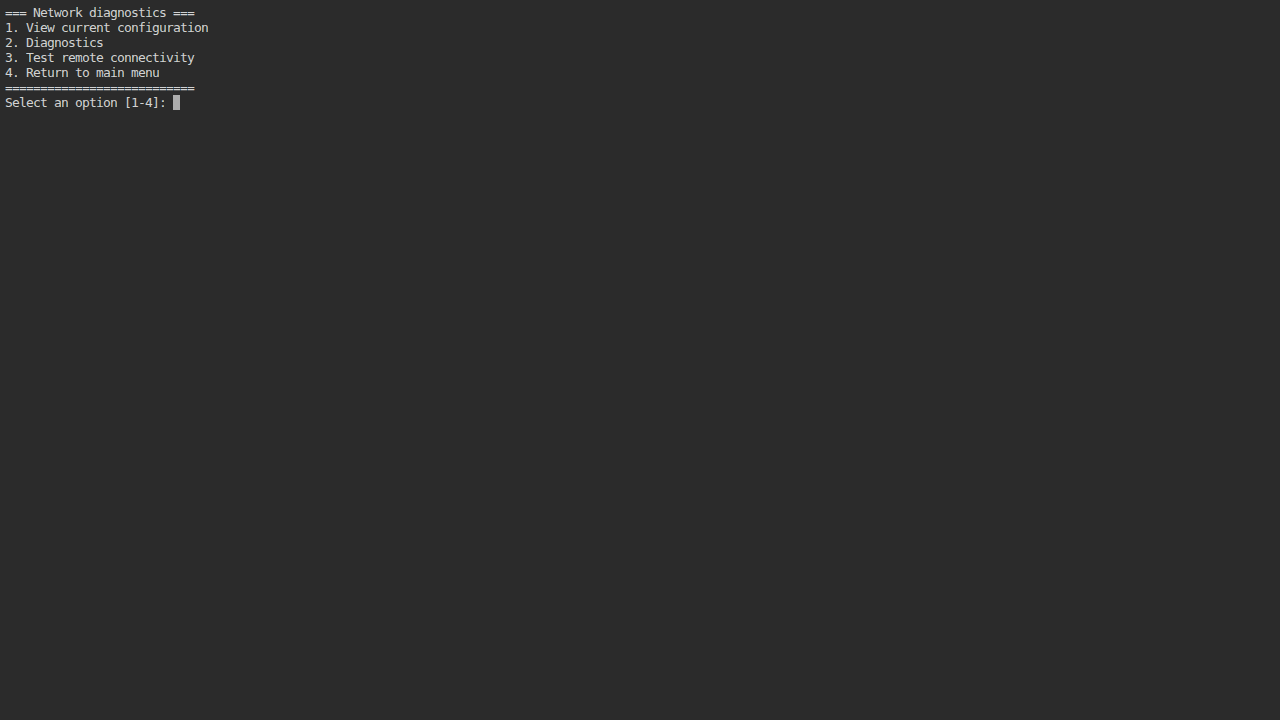
This entry opens a network diagnostics submenu.
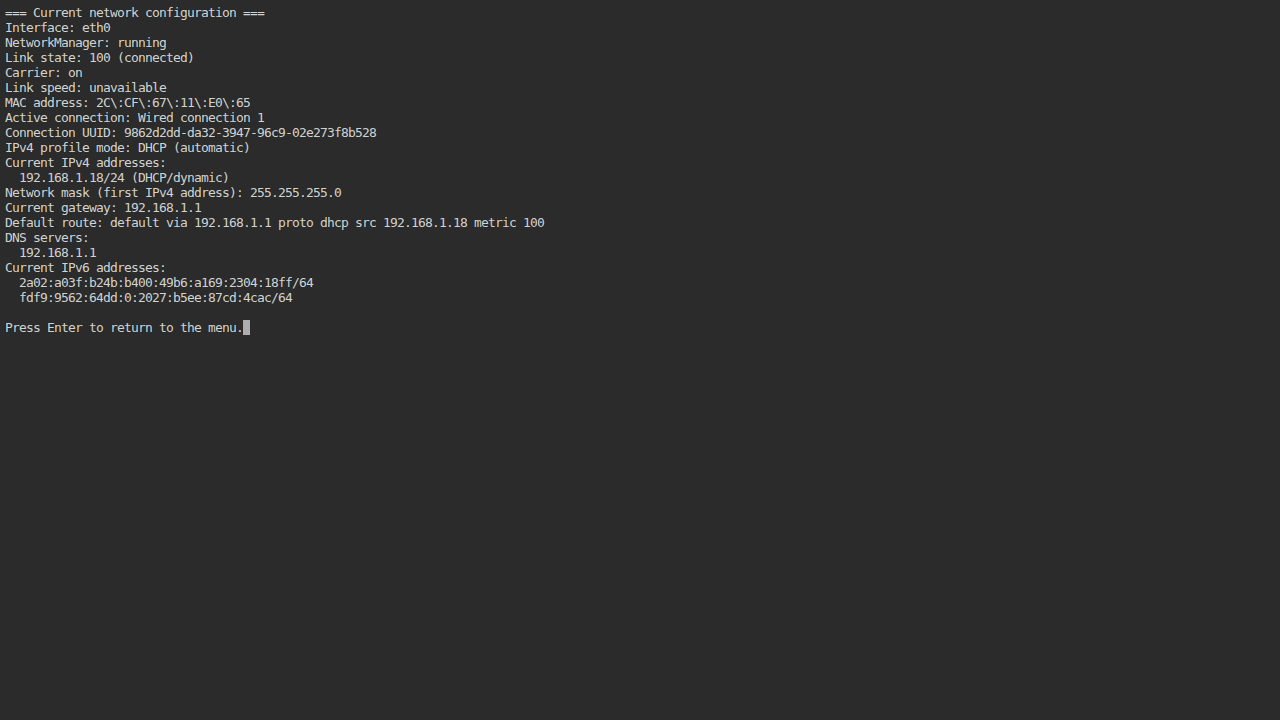
- View current configuration displays the NetworkManager state, the
eth0interface, the Ethernet link, the MAC address, the active profile, the IPv4 mode, the addresses, the gateway, and the DNS servers. - Diagnostics runs the Local Controller connectivity checks. Use it after a network change to verify that the controller can reach the required services.
- Test remote connectivity asks for a hostname or IP address and then a TCP port. It helps distinguish a network issue from an issue with a remote service.
- Return to main menu returns to the main menu.
3. Onboarding status
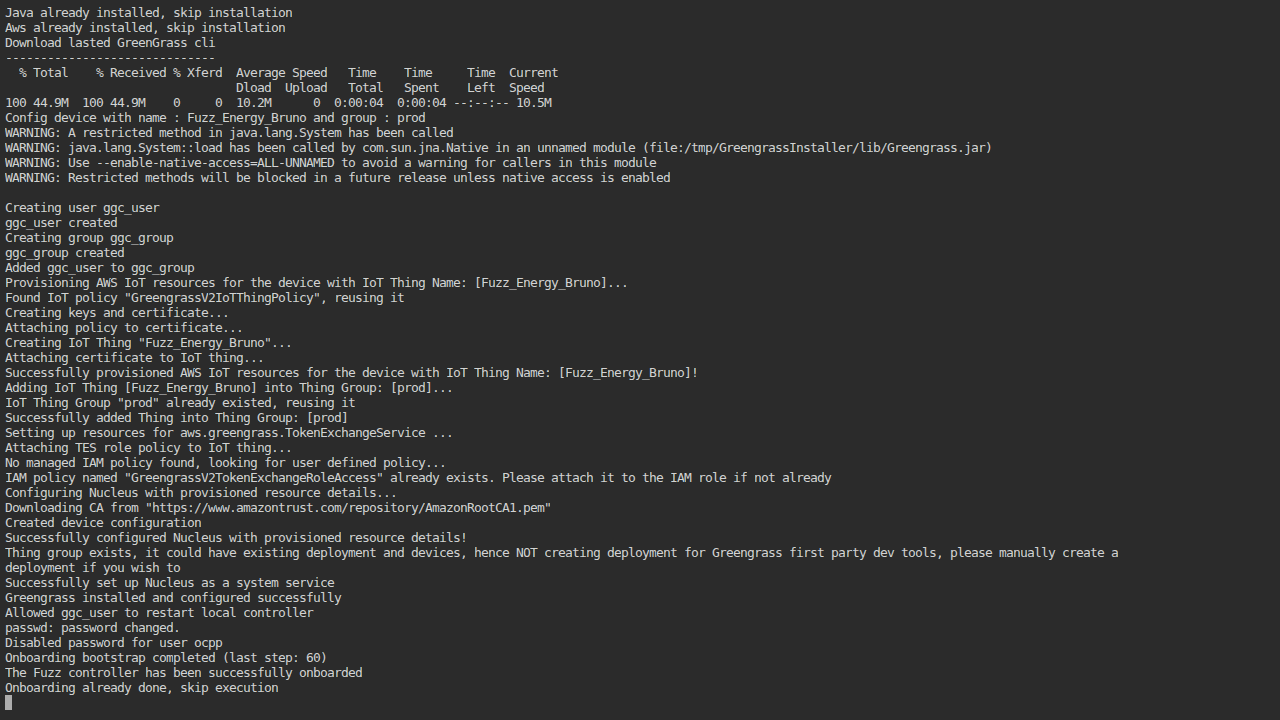
Onboarding runs during the first startup of the Local Controller. This step registers the Local Controller with Fuzz Cloud.
This entry opens the onboarding logs in real time. Press Ctrl-C to stop following the log, then press Enter to return to the menu.
Use this entry when the controller has just started or when the installation does not appear to be progressing. The completed status means that onboarding finished successfully.
4. Restart onboarding and follow logs
This entry restarts the onboarding process if it is blocked, then displays its log in real time. It is useful after fixing connectivity or another configuration required for onboarding. Normally, the restart is automatic. Before performing this operation, wait a few minutes to make sure that onboarding is actually blocked.
Restarting this service relaunches the Local Controller installation process. Do not use it while an installation is already in progress without first checking its state in Onboarding status. Press Ctrl-C to stop following the logs.
5. Fuzz Secure Link status
This entry displays the detailed status of the connection to Fuzz Cloud. Check that the service is active (running) when access from the Fuzz Console is required.
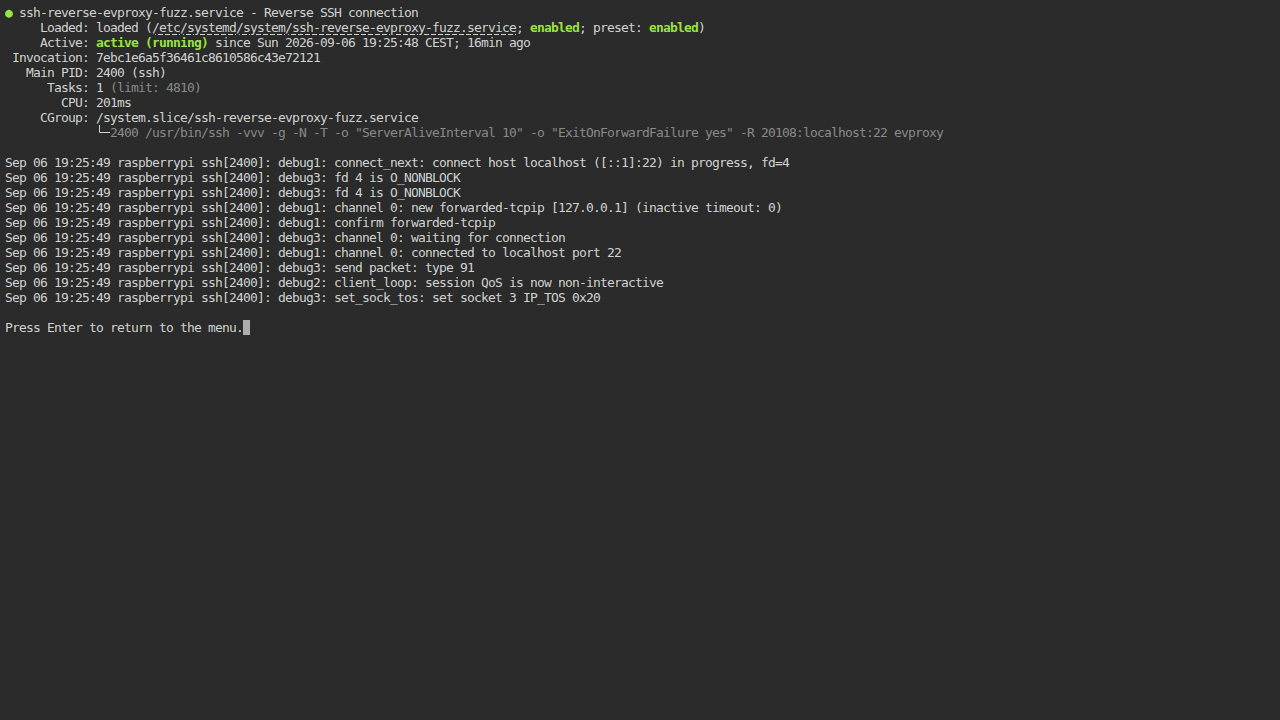
After a network change, the service is stopped during the switch and restarted when the network profile becomes active. An incorrect IP address or route can prevent the tunnel from coming back online.
6. Set NTP server
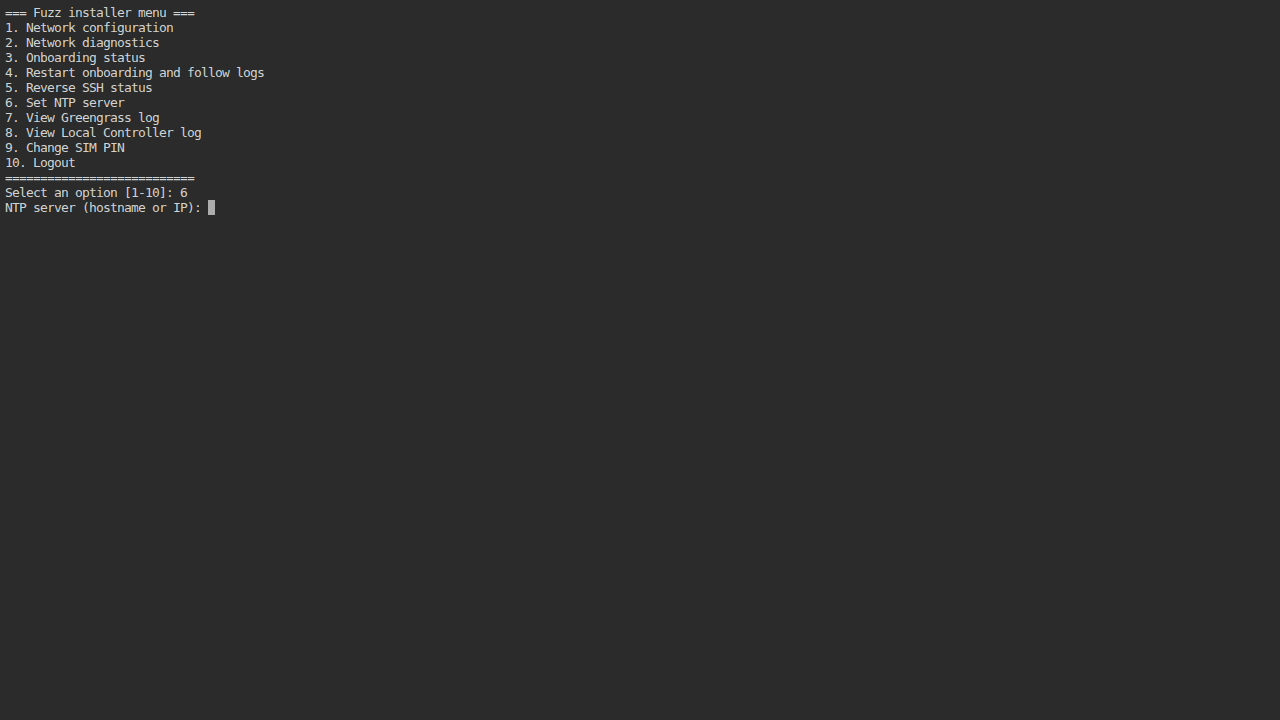
This entry asks for the hostname or IP address of an NTP server, writes it to the systemd-timesyncd configuration, and restarts the time synchronization service.
Enter a server authorized by the site's network, for example 192.168.1.1 or the DNS name provided by the administrator. A correct system clock is important for certificates, logs, and secure communication with Fuzz Cloud.
7. View Greengrass log
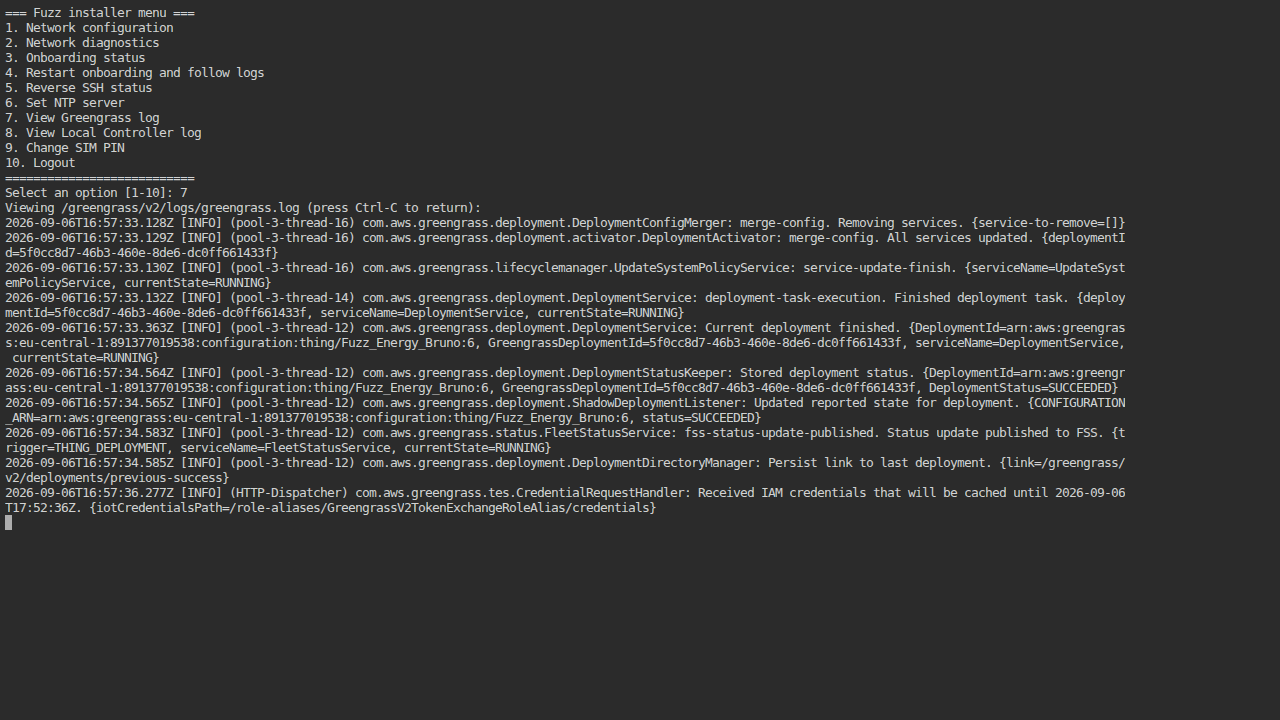
This entry follows the AWS IoT Greengrass log file:
/greengrass/v2/logs/greengrass.log
It is useful for checking Greengrass startup, deployments, and the components running on the controller. Log following remains active until Ctrl-C is pressed.
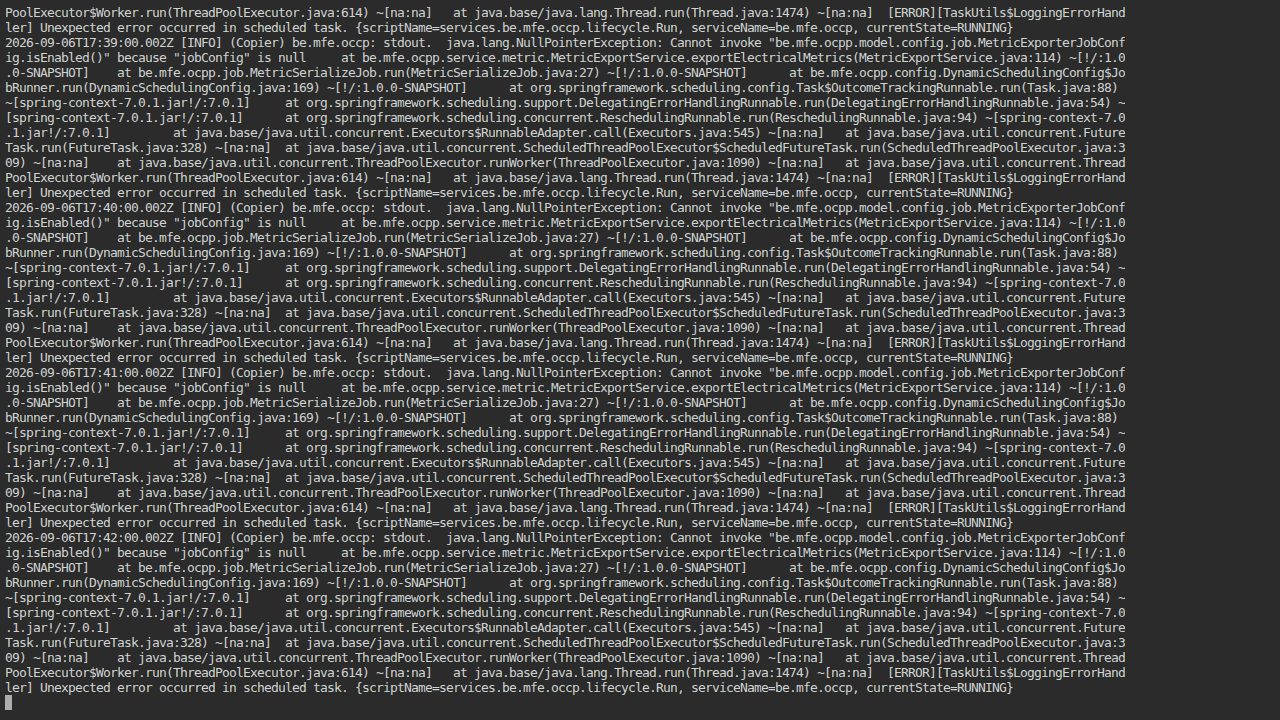
8. View Local Controller log
This entry follows the Local Controller log:
/greengrass/v2/logs/be.mfe.occp.log
Note: only uncaught errors are displayed in this log. Logs are sent to the Fuzz Console in real time, and most logs can be viewed there.
9. Change SIM PIN
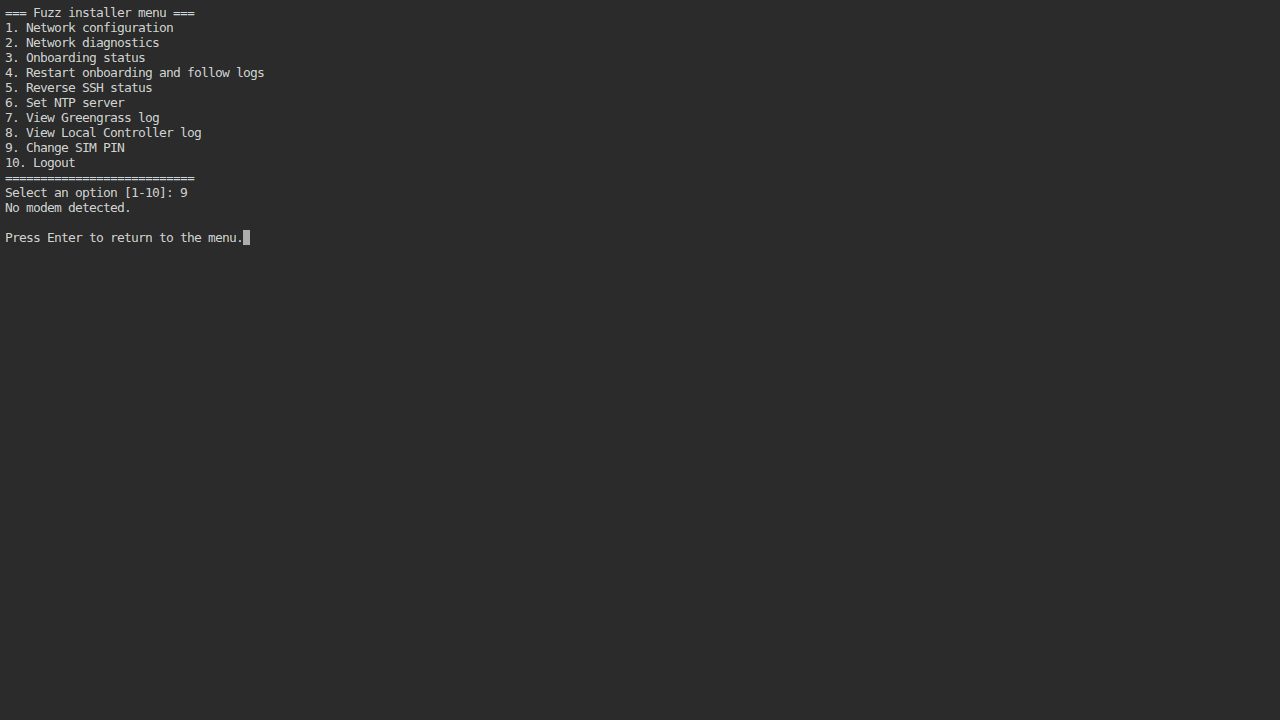
This entry searches for a modem and SIM card, then asks for the current PIN and the new PIN. Both values must contain between 4 and 8 digits.
If no modem or SIM card is detected, the menu displays a message and returns to the main screen. On a controller equipped with a modem, check the operator's procedure before changing the PIN: several consecutive errors can block the SIM card.
10. Logout
This entry closes the installer menu session. In SSH or the web terminal, the connection is then terminated. To reopen the menu, reconnect with the installer account and the password based on the Ethernet MAC address.