Physical installation
Preparation
Before installation, check that the top switch is NOT set to BOOT.
The controller must boot in normal mode to work correctly.
Location
The Local Controller can be installed:
- preferably in the IT / network room
- or close to the assets (charge points, meters, Modbus equipment) if needed
Installation in the IT room is recommended to make access to the network and IT infrastructure easier. The Local Controller can be mounted on a DIN rail using the DIN rail bracket included in the controller box.
Network connection
Connect the Local Controller to the network via Ethernet.
👉 Preferably use the top Ethernet port.
This port is generally used as the main network interface for communication with the platform and the equipment.
The lower port is intended to be connected directly to a PC. This direct connection is only necessary when the DHCP-provided IP address of the Local Controller is unknown and the Local Controller cannot be accessed from the Fuzz Console through Installer SSH console.
Connect the PC directly to the Local Controller’s eth1 port and configure a static IP address on the PC: 169.254.254.2, with the subnet mask 255.255.255.0. The Local Controller is then accessible at 169.254.254.1.
Power supply
The Local Controller can be powered with a voltage between:
- 12 V and 24 V
- AC or DC
Two power supply methods are available:
- via a jack plug connected to an adapter plugged into a socket (a Jack adapter is supplied with the controller)
- via a power terminal block connected to a transformer
⚠️ No polarity is required on the power terminals. The + and 0V connections can be swapped safely.
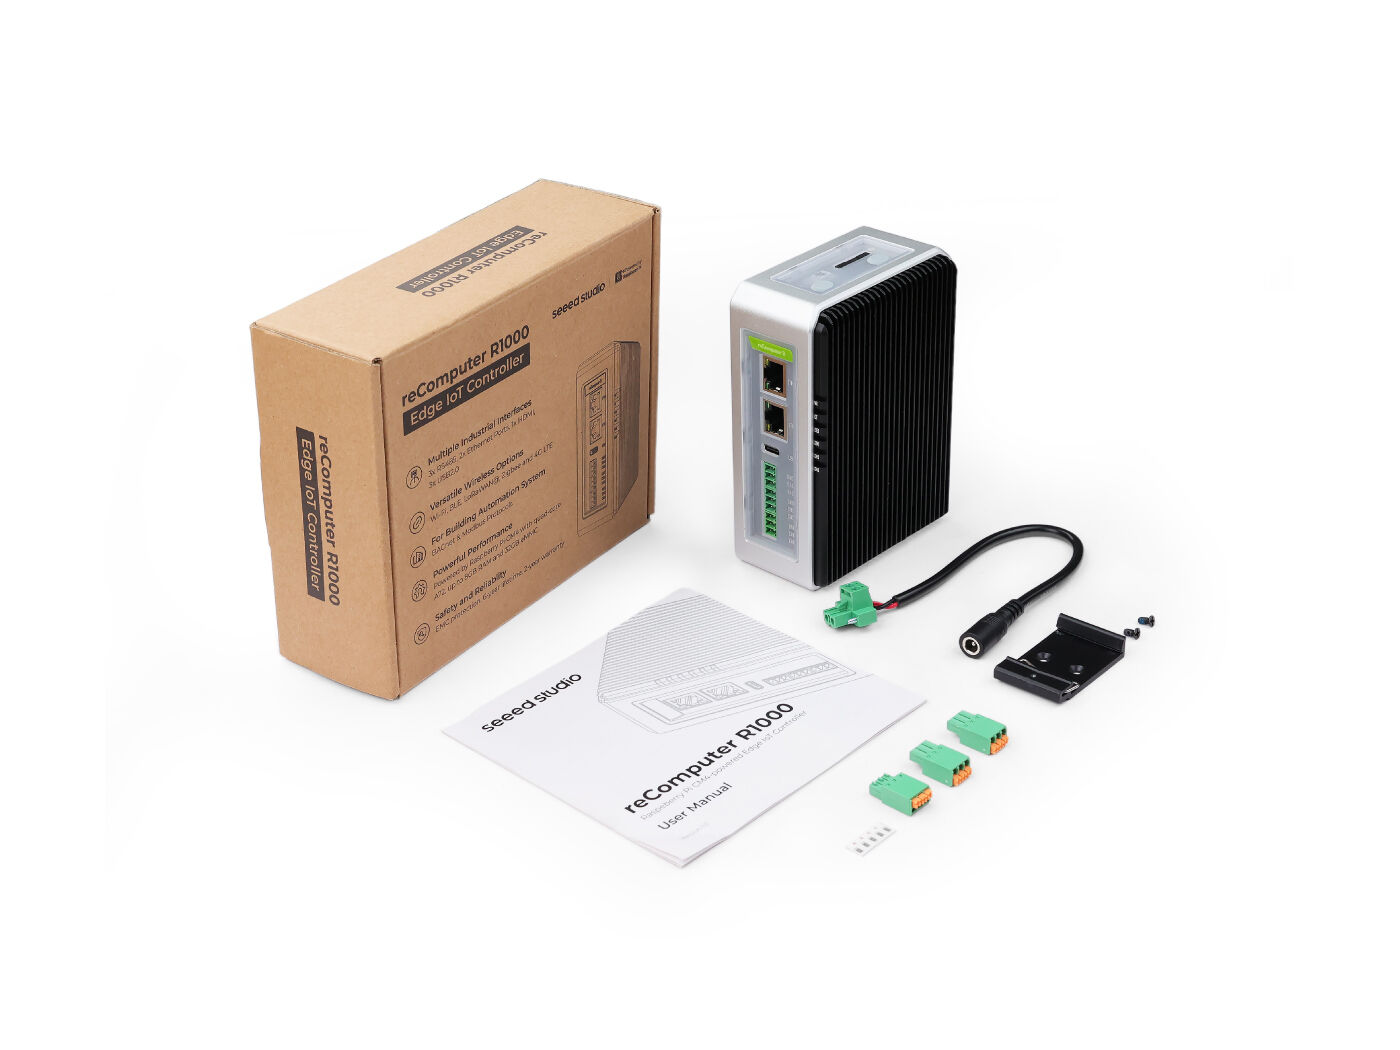 The reComputer comes with a Jack adapter and a DIN rail bracket